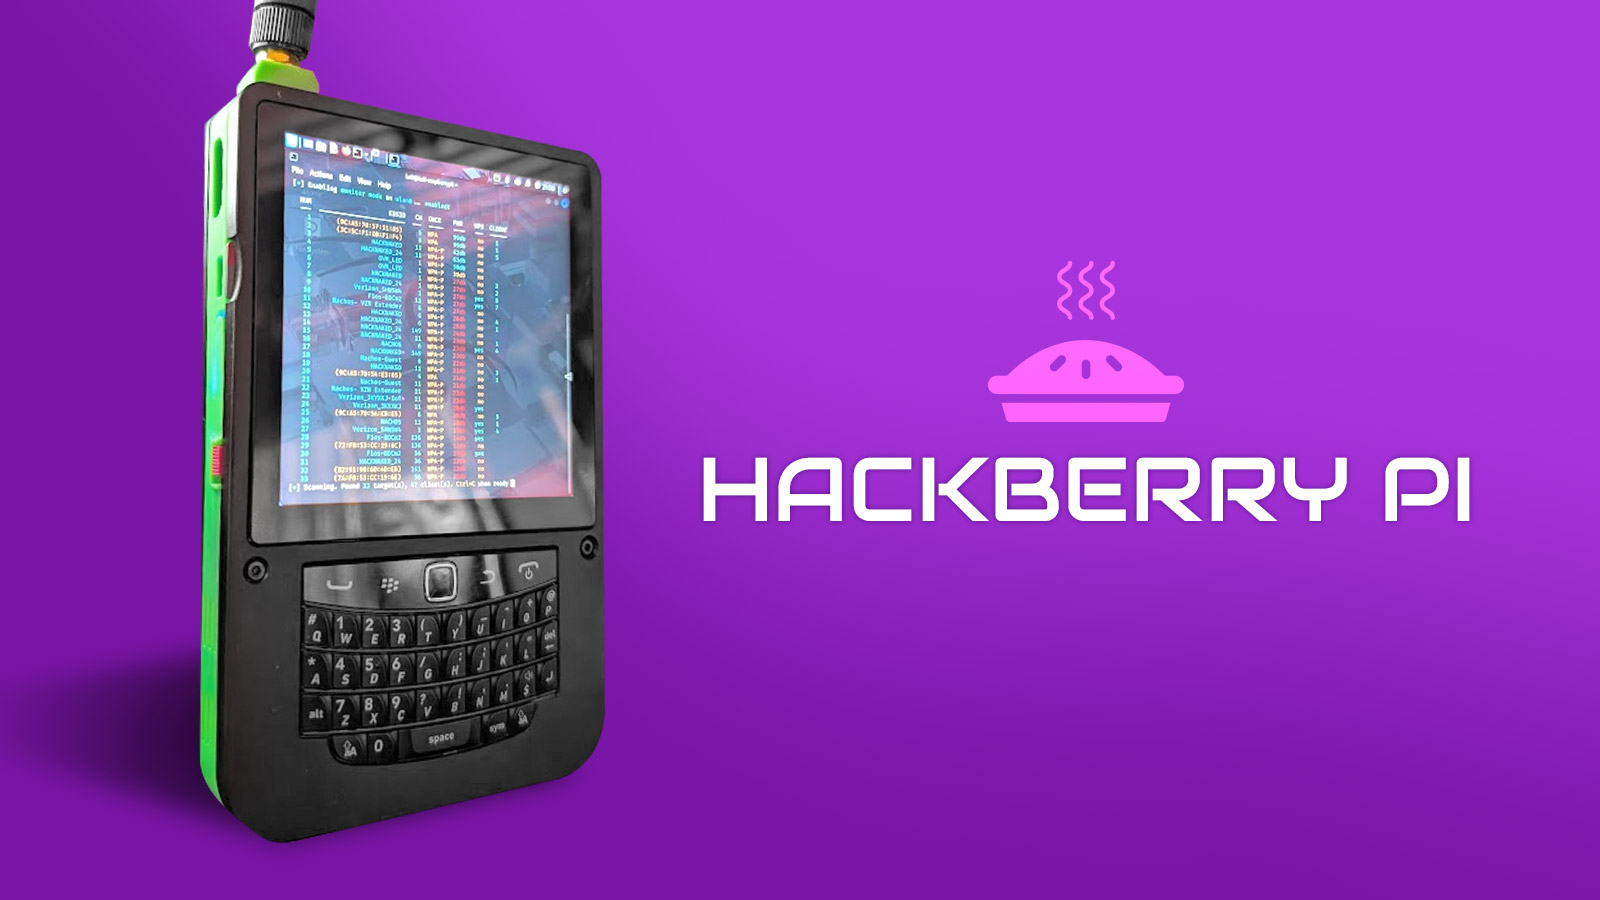
Cyberdecks: Custom Hacking Platforms
There are many examples online of DIY cyberdecks. These compact, modular builds push the boundaries of portable computing. The goal, at least for me, is to have something portable to run penetration testing hardware and software tools from. While you can use a small laptop, or arguably the computer you are using every day, I’ve discovered the following drawbacks:
- I don’t want to break my laptop installing custom tools. Many tools require specific libraries and dependencies that may conflict with other, arguably more critical, hardware and software on my computer.
- A laptop can be bulky to carry around, and is not as inconspicuous as other, smaller devices.
I’ve experimented with many different options to implement the best cyberdeck/hacking device, including:
- Raspberry PIs (Older Models) – I’ve tested a Raspberry Pi 3 and Pi 4 with a case and screen. You still have to power it with a separate battery pack. The screen ends up being very small. The performance is less than desirable.
- Raspberry PI 5 with Elecrow’s Crowview Note – This is a solid option as it allows you to attach a Raspberry PI 5 (with an NVME) directly to a laptop-like device, complete with screen, keyboard, and mouse. The main problem is that the Raspberry PI protrudes from the side, making it cumbersome and prone to damage if not handled carefully.
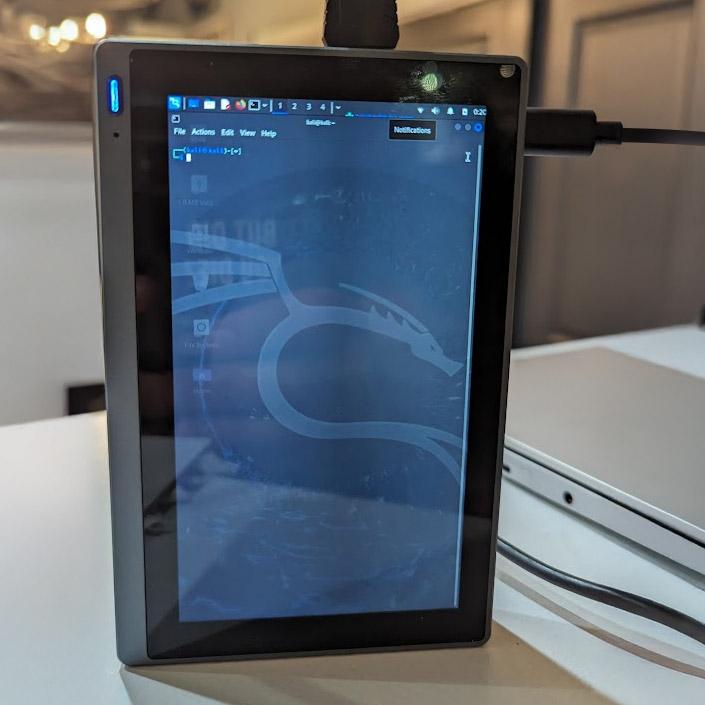
- Mini PCs with a built-in touch screen – Although a bit more expensive than Raspberry PIs, they offer very high performance and are also portable. The problem is that these devices require a power supply, which means you have to lug that around and then find an outlet to power them.
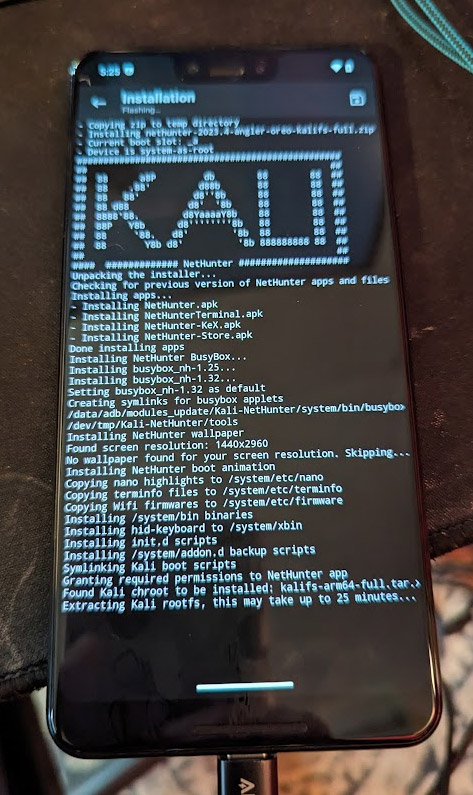
- Kali Nethunter – It was a great learning experience getting it installed on an older Android phone, but it proved to be a bit buggy and unstable.
- uConsole Clockwork PI – This is a nice Raspberry PI cyberdeck that comes with everything you need, including a Compute Module 4. The platform’s main issues are its heavy and bulky design, an un-user-friendly keyboard and mouse, and the CM4’s poor performance with Kali Linux (which is also a bit challenging to install).
Given all of the above experiments, I decided to dive in and build my own, starting with the HackberryPi CM5 9900 from Elecrow (designed by ZitaoTech). This is a shortcut, as I didn’t build the components myself; like most cyberdecks, I just found a design that met pretty much all of my requirements for $168. That is just the starting price, as I will outline all of the components I added on to make it fully functional.
I paired it with an NVME SSD and the Raspberry Pi CM5 module with 16GB of RAM ($132 from Pishop.us). While still a bit on the high end price-wise, this is an excellent value for a portable hacking device.
In this post, I’ll walk you through my whole build process—from unboxing to modding for an external antenna—and share some tips for installing both Raspbian and Kali for a flexible, hacking-ready environment.
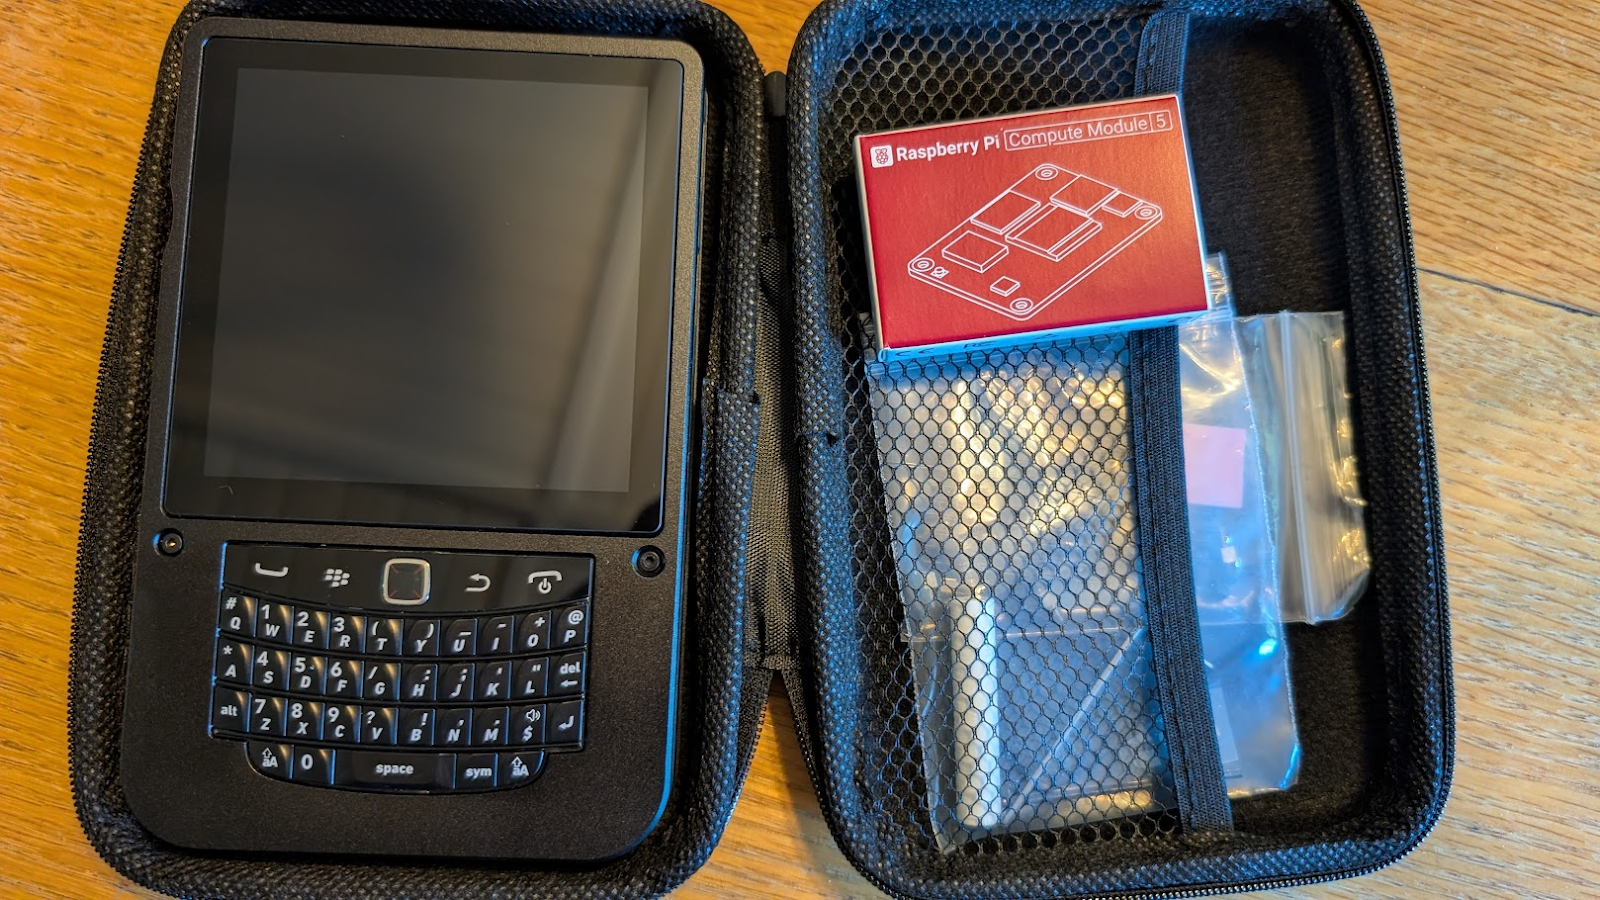
What’s in the Box: HackberryPi CM5 9900
The HackberryPi CM5 9900 is a rugged, pocketable cyberdeck with the following features:
- Aluminum chassis with 3D printed center for lightweight durability – The 3D printed center is fantastic because the STL files are published online, and other hackers have already created 3D printed designs that are custom, allowing you to add features such as external Wifi antennas easily.
- 5,000mAh battery (with up to 5 hours idle runtime) – I love the bonus feature of the battery: It supports MagSafe wireless charging!
- 720×720 touchscreen display – Although the display is pretty small (my eyes are old), it’s very functional.
- Dual USB 3.0 – With two USB ports, I can add a Wi-Fi and Bluetooth/BLE adapter without needing a USB hub.
- Full-size HDMI – This is a nice feature, as I may test it to use when I give presentations, or just want to connect it to an external display with a keyboard and mouse, and use it more like a desktop.
- Combo keyboard/trackpad (with Q10, Q20, 9900, or 9983 options) – The keyboard and mouse combo is nice to use, nowhere near as lovely as a full keyboard and mouse, but much better than other built-in input devices on different platforms.
Note: The CM5 module _is not included_—you’ll need to source your own, preferably the CM5 lite (without EMMC), as the EMMC version lacks microSD pinout for easy OS flashing.
Sourcing and Prepping the Core Components
What You’ll Need:
- Hackberry Pi CM5 9900 (shell, battery, display, heatsink, travel case)
- Raspberry Pi CM5 Lite module (16GB)
- Raspberry Pi 2230 M.2 NVMe SSD (265GB)
- External FPC antenna kit – I bought a few different models:
- 32 GB microSD card (for bootstrapping as recommended in the kit)
- Documentation and reference files (Github) – Make sure you read through the documentation on the Github; several excellent resources for this platform live here.
Hackberry Pi Initial Assembly
- Install the CM5 module – Open up the HackberryPi and mount the Raspberry Pi CM5 into its dedicated slot, securing it with the included allen keys.
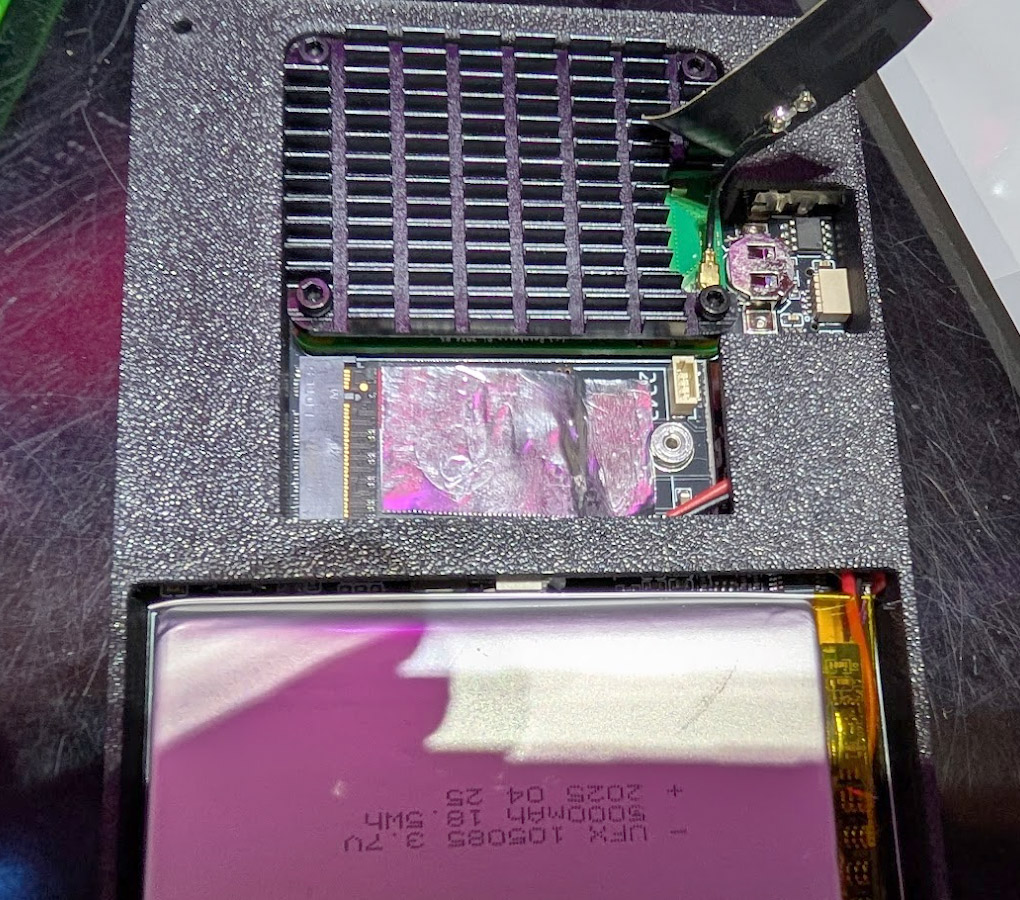
- Slot the NVME SSD – Insert your NVME SSD into the 2242 socket—this enables rapid storage for Kali and data-heavy operations. Yes, I used tape to hold down the NVME drive. This is not recommended and will be replaced with the appropriate screws and parts soon.
- 3D printed enclosure piece – I used this design and 3D printed the middle piece of the enclosure that has been designed to hold an external antenna. This antenna connects to the internal CM5. I printed this using PLA on a Bambu Labs 3D printer. (Thank you to user XZXER on Maker World for publishing the model.) Wireless range is critical for pentesting and mobile use. The HackberryPi CM5 9900 kit supports an FPC antenna mod to boost WiFi and installs as follows:
- Disassemble backplate – Remove screws, gently lift off the back.
- Locate CM5’s WiFi module – Identify the U.FL connector (standard on Pi CM5 lite).
- Attach external FPC antenna – Secure antenna to the WiFi module (very carefully!), route cable through chassis cutout.
- Reassemble and test – Power up, verify increased WiFi signal strength in Kali and Raspbian (use the `iwconfig` or `nmcli` commands).
Pro tip: The magnet ecosystem on the backplate allows easy docking or placement for antenna orientation.
Flashing Raspbian to the SD Card
Since the cyberdeck’s NVME is uninitialized, bootstrapping is done via a microSD card. You have to install Raspbian on the microSD card, then use utilities in Raspbian to install Kali Linux and change the boot order:
- Download 64-bit Raspbian – Use Raspberry Pi Imager on your desktop.
- Flash to SD card: Select your microSD, write the OS image, and then insert it into HackberryPi.
- Initial boot, Power on, and complete the first-run setup. This ensures all essential drivers are loaded and the system identifies the NVME slot.
- Download the Kali ARM image directly from Kali’s official site and select the “Raspberry Pi (CM5)” version.
- Install to NVME – Use `dd` or Raspberry Pi Imager, selecting the NVME as your target. Alternatively, partition the NVME from Raspbian (`fdisk`/`gparted`), then use `debootstrap` or a similar tool to set up Kali.
- Configure boot options – I ran raspi-config and navigated to “Advanced Options” and “Boot Order” to set the NVME as the default, and the SD Card as the secondary boot device.
- Reboot and verify – Restart, enter the boot menu, and confirm Kali is launching from the NVME. Confirm storage speed is as expected with `lsblk` and some `dd` tests.
One last step is to configure the config.txt for Kali Linux running on the device. Significant time and research was spent testing configurations that allow both the internal and external displays to render correctly. See Appendix A for my working configuration.
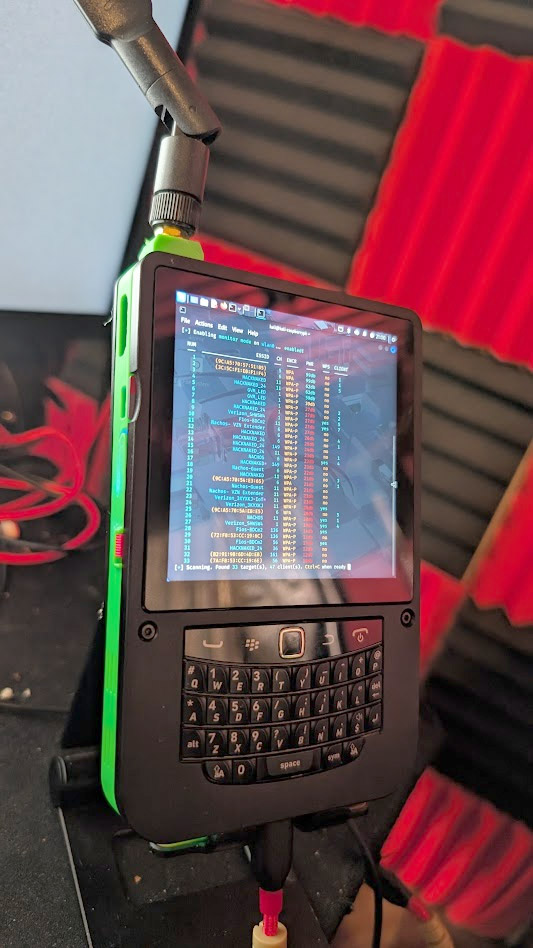
The Final Build
Bonus Tweaks and Accessories
Enhance your build with some add-ons, including links to some of my favorite hacking accessories:
- USB3.0 hub (via one of the dual ports for expanded peripherals)
- A Wifi Dongle – ALFA Network AWUS036ACM
- A Bluetooth/BLE Dongle – ZEXMTE USB Bluetooth Adapter
- A Software Defined Radio – Nooelec RTL-SDR v5 SDR
Final Thoughts
This Hackberry Pi CM5 9900 cyberdeck, customized with an NVME SSD running Kali, enhanced by an external antenna, is a compact, responsive hacking platform. It’s ideal for pentesters, infosec enthusiasts, and anyone craving flexible Linux power in a handheld package. The modularity means you can keep upgrading: swap CM5 modules, change SSDs, or experiment with sensors via the Stemma I2C port.
Remember: Take care during assembly, double-check connectors and pinouts. You’ll be rewarded with a truly portable cyberdeck, ready for all your hardware hacking adventures.
Appendix A – /boot/firmware/config.txt
# Enable audio (loads snd_bcm2835)
dtparam=audio=on


# Automatically load overlays for detected cameras
camera_auto_detect=1


# Automatically load overlays for detected DSI displays
#display_auto_detect=1


# Automatically load initramfs files, if found
auto_initramfs=1


# Don't have the firmware create an initial video= setting in cmdline.txt.
# Use the kernel's default instead.
disable_fw_kms_setup=1


# Disable compensation for displays with overscan
disable_overscan=1


# Run as fast as firmware/board allows
arm_boost=1


[cm4]
# Enable host mode on the 2711 built-in XHCI USB controller.
# This line should be removed if the legacy DWC2 controller is required
# (e.g. for USB device mode) or if USB support is not required.
otg_mode=1


[cm5]
dtoverlay=dwc2,dr_mode=host


[all]
# Enable DRM VC4 V3D driver
dtoverlay=vc4-kms-dpi-hyperpixel4sq
hdmi_force_hotplug=0
hdmi_ignore_edid=0xa5000080